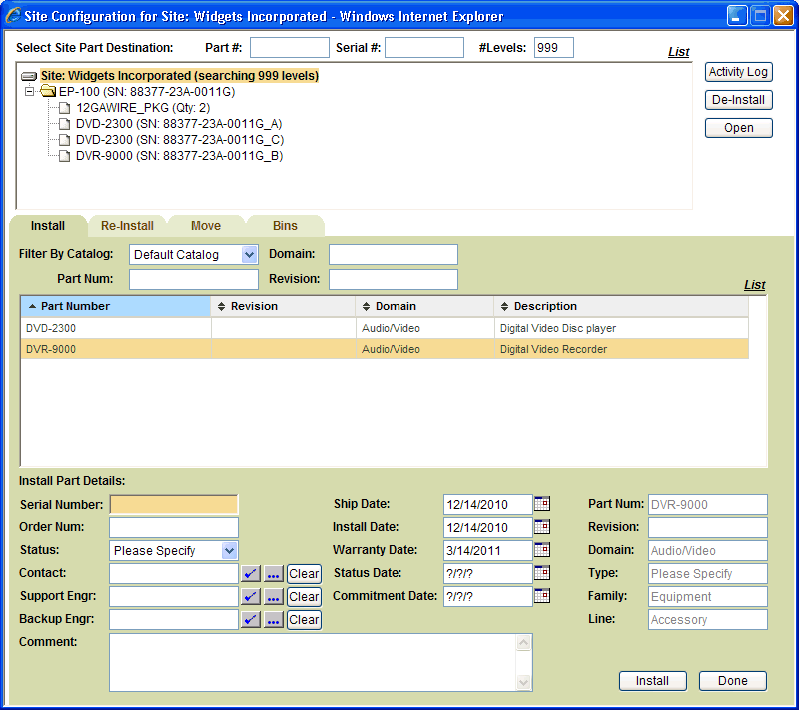
Use the Install tab to select and install new parts at the site at the top level, beneath a parent site part, or in a site bin. Once the part is installed, the tree view at the top of the form will be updated to show the newly-installed site part, and the Install tab will be cleared.
To install a site part
Note: Unlike Clarify's configuration manager, there is no special separate form for the catalog selection - it's just one of the part number filters.
Note: If the selected part is tracked by serial number, the Serial Number must be entered. If the part is quantity tracked, then the Quantity is required. This field will change depending on the part selected.

See Also |
Next |